
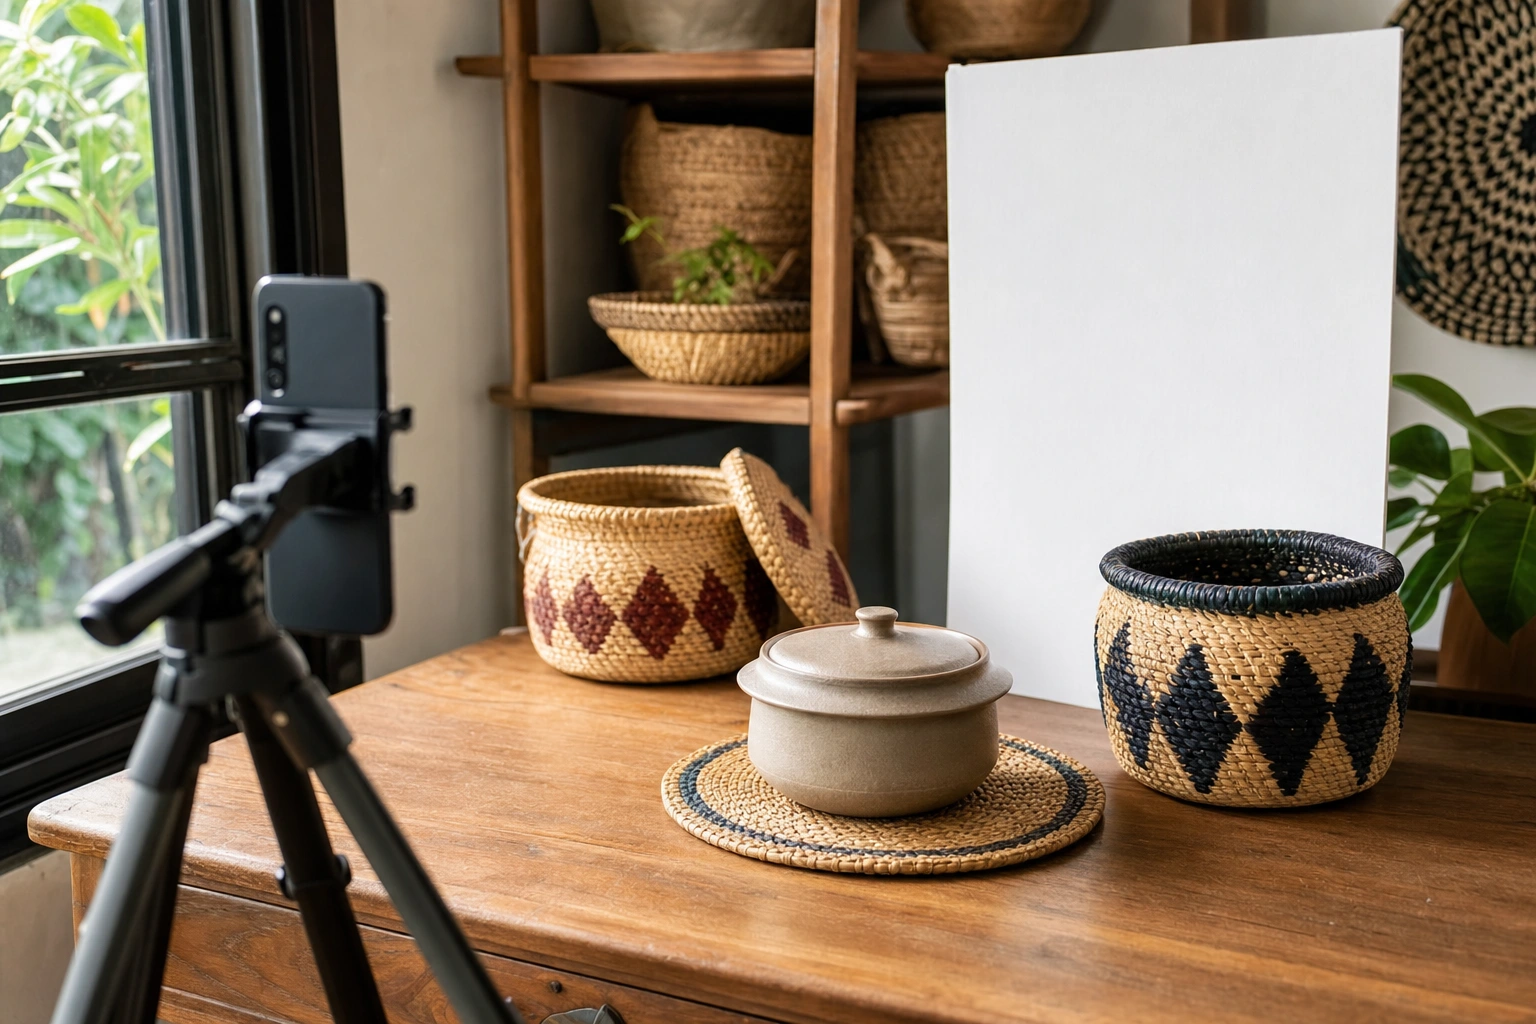
Smartphone photography has become one of the most useful visual skills for business owners, marketers, freelancers and professionals. A modern phone can produce images suitable for social media, websites, online shops, presentations and marketing materials, provided the photographer understands how to control light, composition and presentation.
The advantage is not simply convenience. A smartphone is usually close at hand, easy to connect to publishing tools and capable of producing images quickly. For a small business in Nairobi, a consultant working across counties, or an online seller photographing products at home, this can reduce production costs and make communication more immediate. However, useful business photography requires more than pointing and shooting. It requires a clear purpose, careful preparation and a repeatable workflow.
Why Smartphone Photography Matters in Business
People often encounter a business visually before they read its full description. A photograph may influence whether someone stops scrolling, opens a product page, trusts a service provider or remembers an organisation. Strong images can explain an offer quickly and show details that words cannot communicate as efficiently.
Businesses use smartphone photographs for many purposes, including:
- Product listings for websites, marketplaces and social media.
- Images of completed projects, such as catering, construction, decoration or graphic design work.
- Behind-the-scenes content that demonstrates process and authenticity.
- Portraits and working images for professional profiles.
- Menus, events, workshops and community activities.
- Internal records, reports and presentations.
The correct photograph depends on the communication goal. A clean product image may be appropriate for an online shop, while a lively image of a customer using the product may be better for a social media post. Before taking a photograph, ask: What should the viewer understand, feel or do after seeing this image?
Plan the Image Before Opening the Camera
Good preparation often improves an image more than an expensive phone. Begin by identifying the subject, audience, platform and desired action. A photograph for a WhatsApp catalogue may need to make the product immediately recognisable. A photograph for LinkedIn may need to communicate expertise and reliability. An image for a restaurant may need to make food appear fresh and inviting.
Make a simple shot list when photographing several items or a business activity. For example, a small clothing business might plan:
- A full view of each garment.
- A close-up showing fabric, stitching or pattern.
- A practical image showing how the garment is worn.
- A detail such as a pocket, label or fastening.
- A wider image showing the collection or workspace.
A shot list prevents repetitive images and ensures that important details are not forgotten. It also saves time when the products, location or people are available only briefly.
Prepare the Smartphone and Shooting Area
Clean the camera lens with a soft, lint-free cloth before shooting. Fingerprints and dust can create haze, reduce contrast and make bright areas appear blurred. Check that there is enough storage space and charge the battery if the session will be lengthy. Turn off distracting notifications where possible, particularly when recording video.
Stability is also important. Hold the phone with both hands, keep your elbows close to your body and breathe steadily when pressing the shutter. A small tripod can help with product photographs, repeated compositions and self-portraits. If a tripod is not available, place the phone on a stable surface and use a timer to avoid movement caused by pressing the screen.
Before photographing a product, tidy the scene. Remove unrelated objects, straighten packaging and check the background for visual distractions. A plain wall, clean tabletop, fabric backdrop or carefully arranged workspace can provide enough structure without competing with the subject. The background should support the business identity but should not overpower the product.
Use Light Deliberately
Light is one of the strongest controls available to a smartphone photographer. Soft, even light is often the safest choice for products, food and people. Window light can work well when the subject is placed near, but not directly against, a window. A thin curtain can soften harsh sunlight. Outdoors, open shade may produce more balanced results than direct midday sun.
Observe the direction of the light. Front lighting makes a subject easy to see, but it may look flat. Side lighting can reveal texture and shape. Backlighting can create an attractive outline or a bright, atmospheric scene, although the subject may become too dark unless exposure is adjusted. When photographing a product, move the object or light source slightly and compare the results rather than accepting the first position.
Avoid mixing different colour temperatures when possible. For example, daylight from a window combined with a strong yellow indoor bulb can make one side of an image appear blue and the other yellow. Switch off unnecessary lights or move the subject to a location where the available light is more consistent.
Watch for hard shadows, especially on faces and reflective products. A white card, sheet of paper or light-coloured wall can reflect some light back into the shadow area. This simple technique, known as fill, can reveal detail without requiring professional equipment.
Improve Composition and Visual Clarity
Composition is the arrangement of elements within the frame. A clear composition helps the viewer identify the main subject quickly. Start by deciding what belongs in the image and what should be excluded.
The rule of thirds can provide a useful starting point. Imagine the screen divided into nine equal sections and place the main subject near one of the intersecting points rather than always positioning it in the centre. This can create space for movement, a product description or the direction in which a person is looking. It is a guide, not a law; centred composition may be appropriate for a symmetrical product or a formal portrait.
Look for lines that guide attention. A table edge, road, shelf or building may lead the eye towards the subject. Repeated shapes can create rhythm, while empty space can make an image feel calm and uncluttered. In a photograph of a Kenyan craft product, for example, a neutral surface may allow the material, colour and pattern to carry the visual message.
Keep the phone level when photographing buildings, shelves and tables. Unwanted tilting can make vertical lines appear to lean. Use the grid option in the camera settings if it helps you align horizons and edges. Take several versions with slightly different distances and angles; a small change in viewpoint can make the image considerably clearer.
Choose the Right Distance and Camera Lens
Many smartphones offer standard, wide-angle and telephoto cameras. Use the standard lens for general photographs when possible because it often produces a natural perspective. A wide-angle lens is useful for interiors, landscapes and large groups, but it can distort faces and stretch objects near the edges. A telephoto lens can compress distance and isolate a subject, although image quality may fall in low light.
Digital zoom enlarges part of the image by cropping or processing it. It may reduce detail and create a less professional result. Instead, move closer when it is safe and practical. For small products, position the phone at a suitable distance and crop carefully later, leaving enough resolution for the intended platform.
Do not place a person or product too close to the edge of a wide-angle frame. Faces, bottles, boxes and other straight-edged subjects may appear distorted. If the result looks unnatural, step back and use a more moderate lens.
Control Exposure and Focus
Smartphones automatically adjust focus and brightness, but the automatic result is not always correct. Tap the main subject on the screen to focus on it. In many camera applications, holding or tapping near the focus point allows you to lock focus and exposure. A brightness slider may then let you make the image slightly lighter or darker.
Check bright areas carefully. White clothing, shiny packaging, windows and reflective surfaces can lose detail when they are overexposed. If highlights look completely white, reduce the exposure slightly and review the image. It is often easier to retain detail in a slightly dark area than to recover detail that has been removed by excessive brightness.
For products, focus on the feature that matters most to the buyer. For a phone accessory, this might be the connector or texture. For food, it may be the main dish rather than the surrounding plate. For a portrait, focus on the nearer eye. A sharp background cannot compensate for an important subject that is out of focus.
Photograph Products for Online Selling
Product photography should answer practical questions. What is the item? What colour and size is it? What does its surface look like? How might it be used? Can the buyer see any important features or possible defects?
Use a consistent background, camera height and lighting arrangement for a product range. Consistency makes an online catalogue easier to browse and gives the business a more organised appearance. Take a primary image that shows the whole product, followed by supporting images that reveal details and scale.
Include an object for scale only when it genuinely helps the viewer and does not confuse the product being sold. A person wearing clothing, a hand holding a small craft item or a familiar object beside a compact tool may communicate size effectively. Make it clear through the surrounding description which item is available for purchase.
Do not alter the colour, shape or condition of a product in a way that could mislead customers. Editing should correct exposure and presentation, not create a false impression. If an item has a mark, variation or handmade irregularity that a buyer should know about, photograph or describe it honestly.
Create Better Portraits and Working Images
Business portraits do not always need to look formal. The setting should match the person’s work and audience. A consultant may be photographed in a tidy office or outdoors at a relevant project site. A chef may be shown preparing food, while an artisan may be photographed using tools in a well-organised workshop.
Place the subject in good light and keep the background simple. Ask the person to turn their body slightly rather than standing rigidly square to the camera. Give them a natural activity or a clear direction, such as looking at a notebook or demonstrating a process, instead of forcing an artificial pose. Take both vertical and horizontal versions if the image will be used across different platforms.
When photographing employees, customers or members of a community, obtain appropriate permission before publishing identifiable images. Be especially careful with children, private situations and images that could affect a person’s dignity, safety or employment. A photograph may be technically excellent and still be unsuitable for business use if it was made or published without proper consent.
Edit Without Losing Authenticity
Editing is most useful when it improves clarity and consistency. A basic editing sequence is:
- Crop the image to suit the intended platform while keeping the main subject clear.
- Straighten horizons and important vertical lines.
- Adjust exposure if the image is too dark or too bright.
- Correct white balance if colours look unnaturally blue or yellow.
- Make small changes to contrast, highlights and shadows.
- Apply modest sharpening and check the image at full size.
Use the same general editing approach across a set of business images. Consistent colour and brightness help establish a recognisable visual identity. Avoid excessive filters, strong saturation and heavy skin smoothing. These effects can distract from the subject and reduce trust, particularly when the image represents a real product or service.
Keep an original copy of important photographs before editing. Create clearly named folders by date, product, campaign or project. A simple archive makes it easier to find images later and reduces the risk of repeatedly photographing the same material.
Adapt Images for Different Platforms
A photograph that looks effective on a website may not work well in a social media story or a messaging-app catalogue. Consider the shape and context of each platform. Vertical images often suit phone screens, while horizontal images can work better in presentations, websites and banners. Leave useful space around a subject if text may be placed beside it, but do not add text to the image unless the design requires it.
Export images at a practical quality and check how they appear after uploading. Excessively large files may be slow to send, while excessive compression can make text, fabric and product edges look soft. Use descriptive file names rather than relying on a phone’s automatic numbering. For example, a file name identifying a product and date is more useful than a string of unrelated digits.
Build a Repeatable Business Photography Workflow
A dependable workflow can be more valuable than occasional creative inspiration. Start with a brief that states the purpose, audience, location, subjects and required formats. Prepare the space and equipment, make a shot list, photograph wide and close views, review the images before leaving, then edit and archive the selected files.
Review photographs at 100 per cent when detail matters. Look for blur, reflections, unwanted objects, cut-off edges and inconsistent colours. If several images are being used together, compare them side by side. A product catalogue can appear untidy when each item has a different background, angle or brightness.
Use a small test shoot before a major campaign. For example, a Nairobi-based food business could photograph one dish in two locations, with two lighting arrangements and both vertical and horizontal framing. Comparing the results can reveal which approach makes the food clearest and most appealing before time is spent on the complete menu.
Applying This in Practice
Suppose a home-based business is launching a collection of handmade baskets. The owner can begin by selecting a clean shaded area near a window, preparing a neutral background and removing unrelated objects. The first image should show each basket clearly. Additional images can show the weave, handles, interior space and a realistic use, such as storage in a living room.
The owner should tap to focus on the basket, check that the weave is sharp, keep the camera level and avoid strong digital zoom. After the session, the images can be cropped into platform-friendly formats, adjusted for consistent brightness and named according to the product range. Any person appearing in the lifestyle photograph should give permission before publication. This process produces useful content without requiring a studio.
Use the following questions to assess your next business photography session:
- What business message should the image communicate?
- Is the main subject immediately obvious?
- Does the lighting reveal the details a customer needs?
- Is the background clean and relevant?
- Have I chosen a suitable distance, angle and image shape?
- Does the edited image remain an honest representation?
- Do I have permission to publish every identifiable person?
Key Takeaways
- Plan each photograph around a clear business purpose and audience.
- Use clean lenses, stable positioning, simple backgrounds and deliberate lighting.
- Focus on the detail that matters most to the customer or viewer.
- Use consistent angles, backgrounds and editing for product collections.
- Edit to improve clarity and colour accuracy rather than creating a misleading image.
- Adapt framing, file size and orientation to the platform where the image will appear.
- Obtain appropriate permission before publishing identifiable people.
No comments yet.