
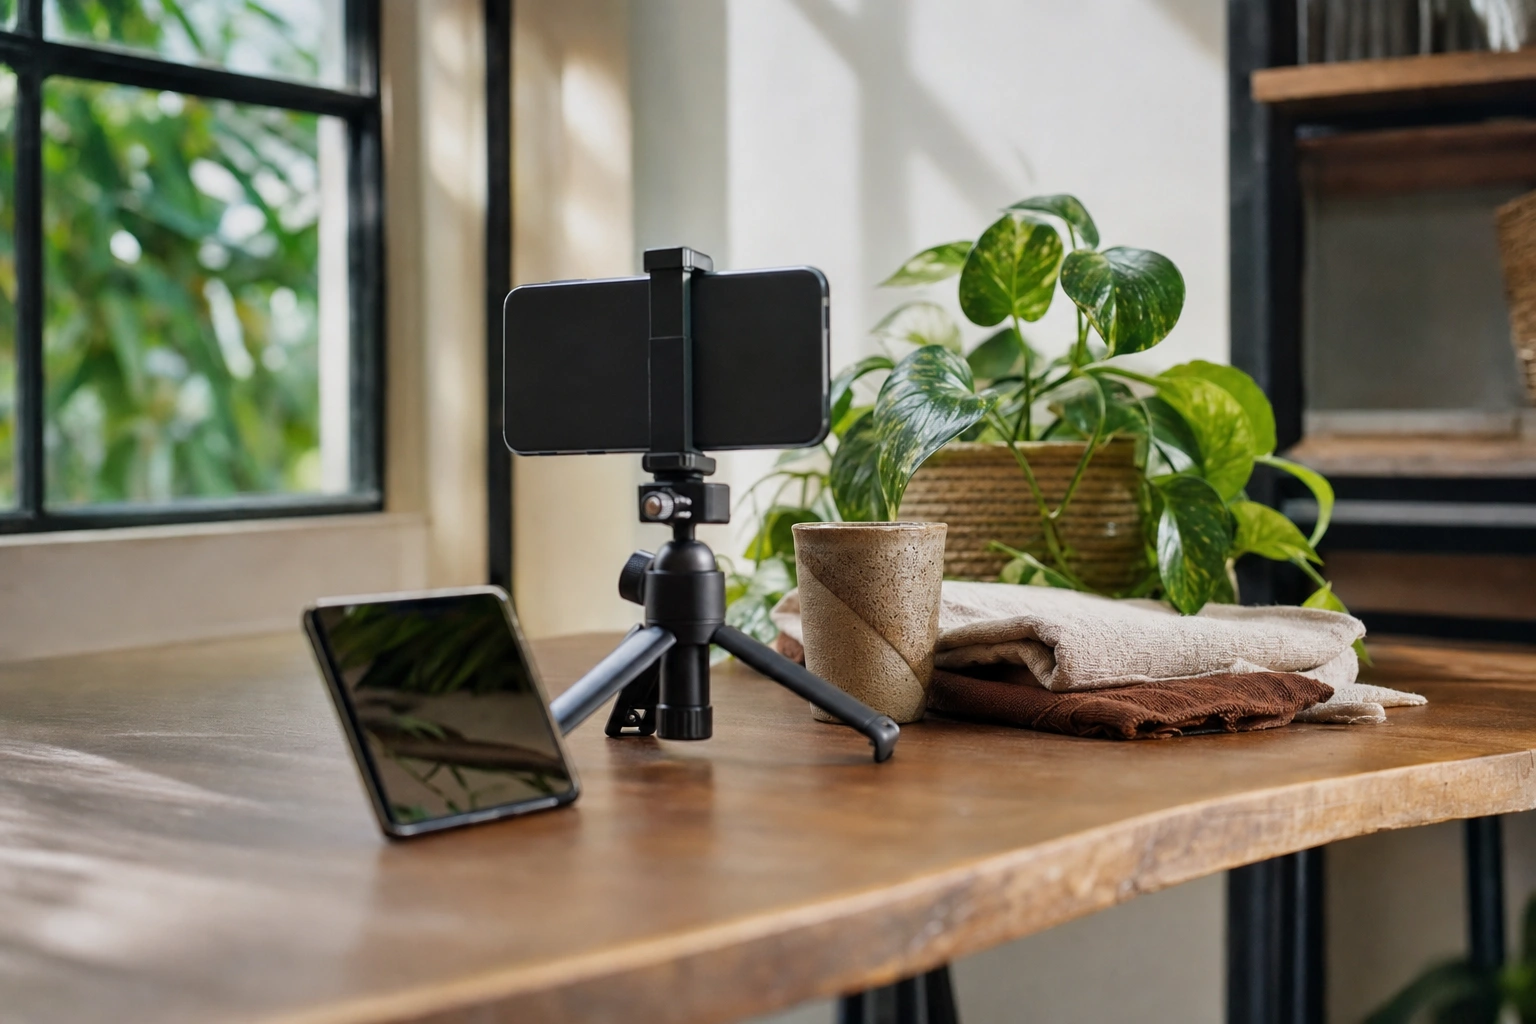
A smartphone camera can produce a clear image from almost any position, but clarity alone does not make a photograph effective. The position from which you photograph a subject influences what viewers notice, how large or small the subject appears, and what feeling the image creates. A cup of coffee photographed from above can look neat and inviting; photographed from table level, it may feel more intimate and substantial.
Camera angle is therefore a creative decision, not merely a technical one. By changing your height, distance and direction, you can make a familiar subject appear powerful, vulnerable, orderly, energetic or mysterious. Understanding these choices helps you take stronger photographs for personal memories, social media, business promotion, travel, food, products and visual storytelling.
What Is a Camera Angle?
A camera angle is the position and direction of the camera in relation to the subject. It describes whether the camera is above, below or level with the subject, and sometimes whether it is tilted to one side. The angle affects perspective: nearby parts may appear larger, distant parts smaller, and lines may converge or lean.
Camera angle is related to, but different from, other photographic decisions. Framing describes what is included within the edges of the photograph. Distance describes how close the camera is to the subject. Orientation describes whether the phone is held vertically or horizontally. Angle describes the camera’s viewpoint in relation to the subject.
These decisions work together. For example, a close, low-angle photograph of a bicycle can make it seem bold and important, while a distant, high-angle photograph may place it within its surroundings and make it appear less dominant.
Why Camera Angles Matter
Changing the angle changes the relationship between the viewer and the subject. A photograph taken from eye level often feels direct and familiar because it resembles the way people normally see one another. A photograph taken from below can give the subject visual authority. A photograph taken from above can reveal patterns, show context or make the subject appear smaller.
Angles also control visual attention. A low position can emphasise height, such as a tall building, tree or person standing against the sky. An overhead position can make objects on a table easier to organise into a graphic composition. A tilted angle can suggest movement or unease, although it should be used deliberately rather than as an accidental result of holding the phone unevenly.
For small businesses, these effects have practical value. A food vendor may use a three-quarter or overhead angle to show the ingredients and arrangement of a meal. A fashion seller may photograph clothing from an angle that shows its shape and texture. A craft maker can use a low side angle to highlight the depth of a woven basket, carved object or piece of furniture.
Common Smartphone Camera Angles
Eye-level angle
At eye level, the camera is approximately level with the subject’s eyes or main visual feature. This is one of the most natural and versatile angles for portraits, interviews, everyday scenes and documentary photography.
Eye-level images usually feel balanced and honest. They avoid making the subject appear artificially dominant or insignificant. When photographing a person, keep the phone roughly at the subject’s eye level instead of holding it too high or too low. This can produce a more respectful and natural perspective.
Eye level does not mean the photographer must always stand upright. If you are photographing a child, an animal or a seated person, lower yourself so that the camera relates to the subject rather than looking down from an adult’s standing height.
High angle
A high-angle photograph is taken from above the subject while the camera still points downwards rather than directly overhead. The higher viewpoint can make the subject appear smaller, more contained or more connected to its surroundings.
This angle is useful when you want to show a person’s activity and the area around them. For example, a photograph of a student writing in a study space can include the notebook, phone, books and desk. In a market scene, a slightly raised position can show the arrangement of stalls and the movement of shoppers without requiring a fully overhead view.
Use a high angle carefully for portraits. Pointing the phone sharply downwards can enlarge the forehead and shorten the lower part of the face. A small adjustment in height may be flattering, but an extreme angle can distort the subject or communicate unintended vulnerability.
Low angle
A low-angle photograph is taken from below the subject, with the camera pointing upwards. This often makes the subject appear taller, stronger or more prominent. It is useful for buildings, trees, monuments, vehicles and portraits where confidence or authority is part of the story.
Imagine photographing a young entrepreneur outside a workshop. A low angle that includes the roofline or open sky may communicate ambition and presence. The same person photographed from a high angle could feel more informal or less dominant. Neither choice is automatically better; the appropriate angle depends on the message.
Low angles can also reveal details that are hidden from normal eye level, such as the underside of a bridge, the structure of a market roof or the texture of tree branches. Watch for distracting backgrounds, however. Pointing upwards may place wires, bright sky or buildings behind the subject.
Overhead or bird’s-eye angle
An overhead photograph is taken from directly above or close to directly above the subject. It creates a clear, organised view of surfaces, shapes and relationships between objects. Food photography, flat-lay product images, craft demonstrations and desk scenes often benefit from this angle.
Overhead compositions work best when the objects are arranged intentionally. Place the main subject where it has visual importance, then add supporting items that explain its use or context. For example, a photograph of a handmade soap might include natural ingredients, packaging materials and a towel, but too many objects can make the frame appear crowded.
When using a smartphone overhead, keep the phone parallel to the surface. If it is tilted, rectangular objects may look uneven and circles may appear oval. Use the grid in the camera app if available, and hold the phone securely to reduce the risk of dropping it.
Worm’s-eye angle
A worm’s-eye angle is an extreme low viewpoint, often close to the ground and directed upwards. It can make ordinary objects look dramatic or monumental. A bicycle wheel, staircase, tree trunk or city building may gain a strong sense of scale from this position.
This is a specialised angle, so use it when the viewpoint adds meaning rather than simply appearing unusual. Before crouching or placing the phone near the ground, check for dust, moisture, traffic and other safety concerns. Protect the phone and remain aware of your surroundings.
Dutch or canted angle
A Dutch angle is created by deliberately tilting the camera so that horizontal and vertical lines run diagonally across the frame. The result can suggest movement, tension, confusion or playful energy.
This technique can work in creative portraits, action scenes and photographs of architecture. It is less suitable when the image should feel calm, formal or stable. A tilted horizon in a landscape or property photograph often looks like a mistake unless the tilt is clearly intentional and supports the composition.
How Angles Change Perspective and Distortion
Smartphone lenses are often wide enough to include a substantial scene, especially when photographing indoors or at close range. This can create noticeable perspective distortion. Objects close to the lens may appear much larger than objects only a short distance behind them.
For example, if you hold a phone very close to a person’s face, the nose may appear larger and the sides of the face may recede. This is not because the phone has changed the person’s features; it is because the short camera-to-subject distance exaggerates the difference between near and far parts. Stepping back and using a modest amount of optical zoom can produce a more natural portrait, provided the phone has a suitable lens and enough light.
Angles also affect vertical lines. When you point the phone upwards at a building, the sides may appear to lean towards one another. This can be an attractive effect in a creative photograph, but it may be undesirable in an estate listing or architectural record. Keep the phone more level and move farther back where possible if you want straighter lines.
Choosing an Angle for Different Subjects
People and portraits
Begin with the purpose of the portrait. An eye-level angle is usually appropriate for a professional profile or a respectful documentary image. A slightly low angle can communicate confidence, while a modest high angle may feel friendly and informal.
Keep the phone at a comfortable distance and avoid placing the face too close to a wide-angle lens. Turn the subject slightly rather than photographing every portrait straight on. Then try small changes in height: one image at eye level, one slightly above and one slightly below. Comparing the results teaches you more quickly than relying on general rules.
Food and products
Use an overhead angle to show arrangement, ingredients, colour and shape. Use a 45-degree angle when you want to show both the top surface and the height of the object, such as a layered cake, a packed gift box or a cup of tea. Use a low side angle when texture and volume are more important than the surface layout.
For product photography, keep the angle consistent across a collection. If one item is photographed from above and another from the side, customers may find it harder to compare them. Choose a viewpoint that shows the product’s most useful features without hiding important details.
Buildings and landscapes
A low angle can emphasise the height of a building or the structure of a bridge. Eye level may provide a more faithful record of a street or entrance. A higher viewpoint can reveal paths, rooftops, fields and relationships between different parts of a landscape.
In a Kenyan town, for instance, the same street might be photographed at eye level to document everyday activity, from a low position to emphasise a distinctive building, or from a raised viewpoint to show how the road connects the market and surrounding neighbourhood. Each angle tells a different story about the same place.
Objects and details
Small subjects often benefit from moving the camera rather than relying immediately on digital zoom. Photograph a plant leaf from above to show its pattern, from the side to show its thickness, and from below to reveal its shape against the light. If the phone has a macro mode, use it for detail, but check that the subject remains sharp.
A Practical Method for Testing Angles
- Identify the subject’s main quality. Decide whether you want to show height, texture, scale, arrangement, emotion, movement or context.
- Take a neutral reference image. Photograph the subject at eye level from a moderate distance. This gives you a useful comparison.
- Change only one variable. Move higher or lower while keeping the subject and distance similar. This makes the effect of the angle easier to recognise.
- Try three-quarter positioning. Move slightly to one side instead of photographing straight on. This often reveals depth and creates more interesting lines.
- Check the edges. Look for poles appearing to grow from heads, bright distractions, cut-off objects and lines that lean unintentionally.
- Review the emotional effect. Ask whether the image feels calm, powerful, intimate, distant, energetic or confusing. Choose the angle that supports the intended message.
Photographing the same subject from several positions is a valuable exercise. Take one eye-level image, one high-angle image, one low-angle image and one overhead image if it is safe and practical. Compare how the subject’s apparent size, background and visual importance change.
Common Mistakes to Avoid
- Using unusual angles without purpose: A dramatic viewpoint should support the story, not merely make the photograph different.
- Tilting the phone accidentally: Check horizons, door frames and building lines before taking the photograph.
- Standing too close: Extreme proximity can distort faces and objects. Step back when you want natural proportions.
- Ignoring the background: A good angle can still produce a weak image if clutter competes with the subject.
- Forgetting safety: Do not step into traffic, climb unstable structures or place your phone in unsafe locations for a photograph.
- Relying on digital zoom: If possible, move your feet or use the phone’s optical lens. Digital enlargement can reduce detail and make the image look soft.
Applying This in Practice
Choose one ordinary subject near you, such as a mug, bicycle, plant, shopfront or colleague at work. First photograph it at eye level. Next, take a high-angle image, a low-angle image and a three-quarter image. If the subject is suitable, make an overhead photograph as well.
Place the images side by side and answer four questions: Which image gives the clearest information? Which makes the subject appear most important? Which has the strongest background? Which best matches the purpose of the photograph? If you are creating a product image, ask whether a customer can understand the product. If you are making a personal portrait, ask whether the angle reflects the person naturally and respectfully.
Repeat the exercise in different light and locations. Practising with ordinary subjects helps you develop judgement before an important assignment, such as photographing a business launch, a community event, a landscape or products for an online shop.
Key Takeaways
- Camera angle changes how viewers understand a subject’s size, importance, mood and relationship to its surroundings.
- Eye-level angles usually feel natural, while high and low angles can make a subject appear smaller or more powerful.
- Overhead angles are useful for showing arrangement, patterns and the relationship between objects.
- Smartphone proximity can create distortion, so step back when you want more natural proportions.
- Choose an angle based on the message you want the photograph to communicate, not simply because it looks unusual.
- Practise by photographing one subject from several heights and positions, then compare the results.
No comments yet.