
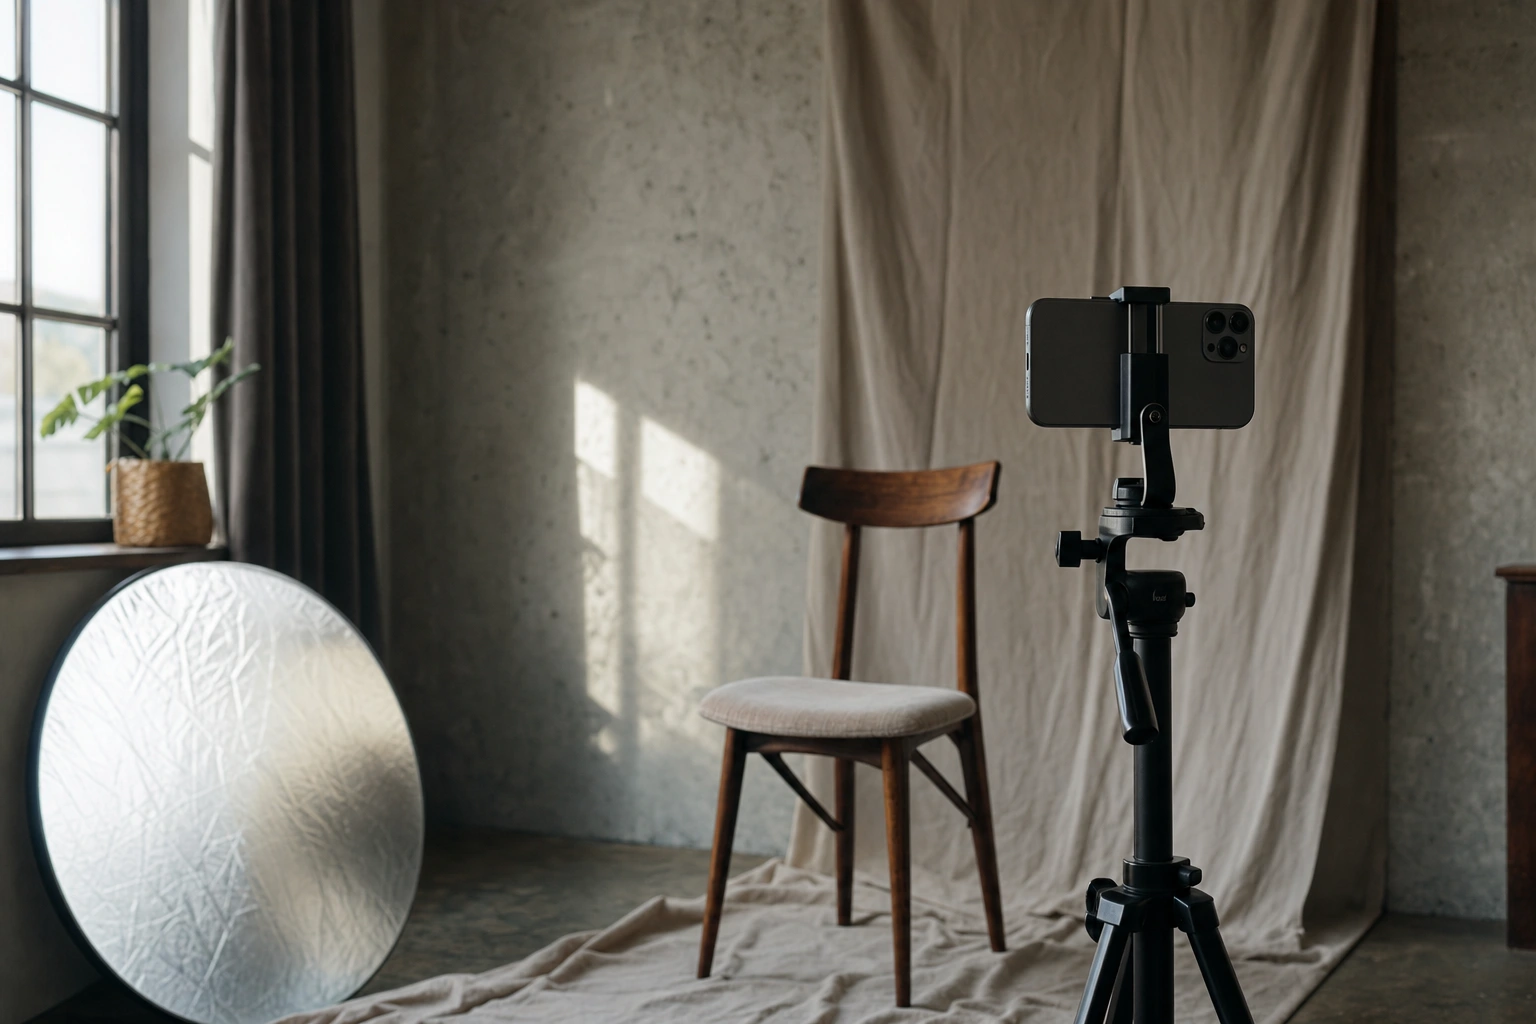
A smartphone can produce much more than casual snapshots. With thoughtful use of light, composition, focus and direction, its camera can create portraits that feel personal, polished and expressive. The most important improvements usually come from decisions made before pressing the shutter, rather than from expensive equipment.
Whether you are building a creative portfolio, documenting a family occasion, promoting a small business or creating a professional profile image, portrait photography begins with understanding the person in front of the camera. Your smartphone is a flexible tool; your observation and communication give the image its character.
What Makes a Portrait Work?
A portrait is not simply a photograph showing someone’s face. It is an image that communicates something about a person through expression, posture, surroundings, clothing, light and the relationship between the subject and the photographer. A strong portrait may feel calm, confident, thoughtful, energetic or informal, depending on the intended purpose.
Before taking photographs, decide what the portrait needs to communicate. A profile image for a professional website may benefit from a clean background and a composed expression. A portrait for a creative project may use stronger colour, movement or an interesting location. A photograph of a family member may be less formal and focus on warmth or familiarity.
This purpose affects every later choice. Ask yourself:
- Who is the portrait for?
- What quality or mood should it communicate?
- Where will the image be used?
- Should the environment provide context, or should attention remain on the face?
Prepare the Smartphone and the Scene
Good preparation prevents technical problems from distracting you during the session. Clean the camera lens gently with a soft, clean cloth. Fingerprints and dust can create hazy highlights, reduced contrast and soft-looking details. Check that the phone has sufficient battery and storage, and turn off notifications if you do not want interruptions.
Use the rear camera when possible because it often provides higher image quality than the front-facing camera. The front camera is useful for self-portraits, quick content and checking a pose, but the rear camera may offer better detail and more control. A small tripod or stable surface can help when you need to be in the photograph yourself.
Choose a location that supports the subject rather than competing with them. A plain wall, shaded outdoor area, quiet room, doorway or textured surface may all work. Look carefully for distracting objects such as poles, bright signs, untidy shelves or strong lines that appear to grow from the subject’s head.
Use Light Before You Use Filters
Light is the foundation of portrait photography. It determines the brightness, shadows, colour and mood of the image. Start by observing where the light comes from and how it falls across the subject’s face.
Window light
A large window can provide soft, flattering light. Place the subject near the window and turn their face slightly towards it. If the light is too strong, move farther away or use a thin curtain to soften it. Avoid placing the subject directly against the window if you want to see their facial details; strong backlighting can make the face appear too dark unless the phone adjusts exposure effectively.
Outdoor shade
Open shade, such as the area beneath a roof or beside a building, can be easier to manage than direct midday sunlight. It reduces harsh shadows and helps the subject keep their eyes comfortable. In bright conditions, avoid patchy shade created by leaves, because irregular spots of light can distract from the face.
Golden-hour light
Light shortly after sunrise or before sunset is often softer and warmer than strong overhead sunlight. It can create attractive highlights along the hair and face, but you still need to check exposure. Turn the subject slightly until the light creates a balanced pattern rather than a bright patch on one side of the face.
Indoor artificial light
Household bulbs can create strong colour casts and shadows. If you are indoors, combine available window light with a nearby lamp only when the colour of the light is reasonably consistent. Avoid placing a powerful light directly below the face, as it can create unnatural upward shadows. A light source slightly above and to one side of the subject often looks more natural.
Do not rely on the phone’s flash as your first choice. Direct flash can flatten the face, create sharp shadows and produce bright reflections in glasses. It can be useful in very dark situations, but changing the subject’s position or finding a better light source is usually preferable.
Control Focus and Exposure
Most smartphone camera apps allow you to tap the screen to choose the area of focus. Tap on the subject’s eye, especially the eye nearest the camera, before taking the photograph. A sharp background does not rescue a portrait if the eyes are soft or out of focus.
After tapping, many phones allow you to adjust brightness by sliding a control up or down. If the face looks washed out, reduce exposure slightly. If the eyes and skin disappear into shadow, increase it carefully. Check the brightest parts of the image, such as a white shirt or sunlit forehead, because excessive brightness can remove visible detail.
Some phones also offer exposure and focus lock. This is helpful when taking several portraits from the same position. Locking prevents the camera from changing brightness every time the subject moves slightly, although you should unlock and adjust again if the light changes.
High Dynamic Range, commonly called HDR, may help when a scene contains both bright and dark areas. However, the best setting depends on the phone and the scene. Test the result rather than assuming that one mode always produces the most natural portrait.
Choose the Right Camera Mode
Portrait mode can create a simulated shallow depth of field by keeping the subject sharp and softening the background. It is useful when the separation looks natural, but the effect is software-generated and may struggle with loose hair, glasses, fingers or complex edges. Examine the outline of the subject before accepting the image.
Standard photo mode can be the better choice when the background is important or when the scene has difficult edges. It may also preserve a more believable sense of place. If your phone offers different lenses, avoid switching automatically without checking the result. A wider lens can distort a face when used very close, while a telephoto option may provide a more flattering perspective if there is enough space.
Digital zoom generally enlarges the image rather than adding genuine detail. Instead of zooming heavily, move closer or use a lens designed for the distance, while keeping enough space around the subject for a comfortable composition.
Build a Strong Composition
Composition is the arrangement of visual elements within the frame. A simple portrait often becomes stronger when you remove unnecessary distractions and give the subject room to appear natural.
Leave a little space above the head, but avoid creating a large empty area unless it serves a deliberate design purpose. When the subject looks towards one side, leave more space in that direction. This creates visual breathing room and makes the pose feel less cramped.
The rule of thirds can help you position the eyes away from the exact centre of the frame. However, centred portraits can be powerful when the background is simple and the subject faces the camera directly. Use the grid as a guide, not a strict formula.
Try both vertical and horizontal framing. Vertical orientation often suits individual portraits and mobile viewing. Horizontal framing can be useful for websites, banners, editorial layouts or portraits that include the surrounding environment. Take a wider version as well if the image may later need cropping for different platforms.
Pay attention to the background’s lines and colours. A textured wall in an old market, a shaded veranda or a quiet street can add context, while a colourful cloth or painted wall can support a creative concept. In an urban setting such as Nairobi or Mombasa, architecture and street colour may provide atmosphere, but make sure bright signs and passing activity do not dominate the subject.
Direct the Person, Not Just the Camera
Many people become tense when told simply to “pose”. Give clear, small instructions instead. Ask the subject to turn their shoulders slightly, lower their chin a little, shift their weight onto one foot or look beyond your shoulder. These adjustments often create a more relaxed pose than asking them to remain completely still.
Hands need particular attention. They can hold a meaningful object, rest lightly on a chair, touch the opposite arm or remain naturally by the sides. Avoid forcing complicated gestures that make the person uncomfortable. If the portrait represents a profession or business, an appropriate tool can provide context, such as a notebook for a consultant, a camera for a creative practitioner or produce for a market trader, provided it reflects the subject’s real work.
Build rapport before making critical photographs. Explain the purpose, show a few images on the screen and ask whether the person has a preferred side or expression. A short conversation can reduce tension and help the subject respond naturally. Do not photograph people in a way that embarrasses or misrepresents them, particularly when the image will be published or used commercially.
Capture Variety During the Session
Do not depend on one perfect frame. Take a sequence while making small changes to expression, posture, distance and camera height. Review the images periodically, but avoid interrupting every few seconds. Look for open eyes, natural hands, relaxed shoulders and expressions that suit the purpose of the portrait.
Vary your viewpoint. Photographing from slightly above eye level can make the face appear more open, while eye-level framing usually feels direct and balanced. A lower viewpoint can suggest strength, but it may also exaggerate the jaw or chin. Move your feet instead of relying only on digital zoom.
Include close-up, medium and environmental versions. A close-up emphasises expression and facial detail. A medium portrait can show clothing and gestures. An environmental portrait places the person within a meaningful setting. This variety is especially useful for entrepreneurs and professionals who may need images for a profile, a website, social media and printed materials.
Edit With Restraint
Editing should improve clarity and support the intended mood, not erase the person’s identity. Begin with simple adjustments: crop and straighten the image, correct exposure, refine highlights and shadows, and adjust colour temperature if the photograph appears too blue or too orange.
Increase contrast carefully. Excessive contrast can remove detail from hair and dark clothing. Similarly, oversharpening may create harsh outlines around the eyes and hair. Skin-smoothing tools should be used sparingly; removing every natural feature can make a portrait look artificial and unlike the person.
Consider whether the background needs reducing in emphasis. A modest decrease in brightness or saturation can help the subject stand out without replacing the setting. Black-and-white conversion can work when colour is distracting or when expression, texture and light are the main subjects, but it should be an intentional choice rather than a way to rescue a poorly exposed image.
Keep an original copy before editing. Export the final image at a suitable size for its intended use, and check it on another screen if colour accuracy matters. A photograph used for a small profile image may not require the same file dimensions as one intended for printing.
Respect Consent and Context
A portrait involves another person’s identity and dignity. Ask permission before photographing someone, especially in a private setting or when the image will be shared publicly. Explain where the photograph may appear and whether it is for personal, educational, promotional or commercial use.
For children, obtain permission from a parent or responsible guardian and follow the rules of the setting where the photograph is made. Be particularly careful with images that reveal a person’s location, workplace or personal circumstances. Consent is not only a legal or administrative concern; it is part of responsible creative practice.
When photographing in public, be considerate of people who are not the intended subjects. Avoid using a stranger’s face prominently in promotional material without appropriate permission. If an image includes people in the background, consider whether they can be recognised and whether their presence changes the meaning of the photograph.
Applying This in Practice
- Define the purpose: Decide whether the portrait is professional, personal, editorial or promotional.
- Prepare the phone: Clean the lens, check storage and battery, and select the rear camera when practical.
- Find the light: Start with a window, open shade or soft outdoor light. Watch the face rather than choosing a location only for its background.
- Clear the frame: Remove distracting objects and position the subject against a background that supports the intended message.
- Set focus: Tap the nearest eye and adjust exposure until facial detail is visible without bright areas losing detail.
- Give simple direction: Make small adjustments to shoulders, chin, hands and gaze while keeping the person comfortable.
- Take a range of images: Try close, medium and environmental compositions, as well as vertical and horizontal framing.
- Edit carefully: Crop, straighten and refine light and colour before considering stronger effects.
- Review ethically: Confirm that the final image represents the person respectfully and that you have permission for its intended use.
Key Takeaways
- Decide what the portrait should communicate before choosing the location, pose and camera angle.
- Use soft window light or open shade as a starting point, and watch how light falls across the face.
- Tap the subject’s nearest eye to set focus, then adjust exposure so facial detail remains visible.
- Use backgrounds, framing and camera distance to support the subject rather than distract from them.
- Give small, clear posing instructions and create variety through changes in expression, viewpoint and composition.
- Edit gently and preserve natural features, keeping an original image before making changes.
- Obtain appropriate permission and consider how the portrait will affect the person when shared.
No comments yet.