
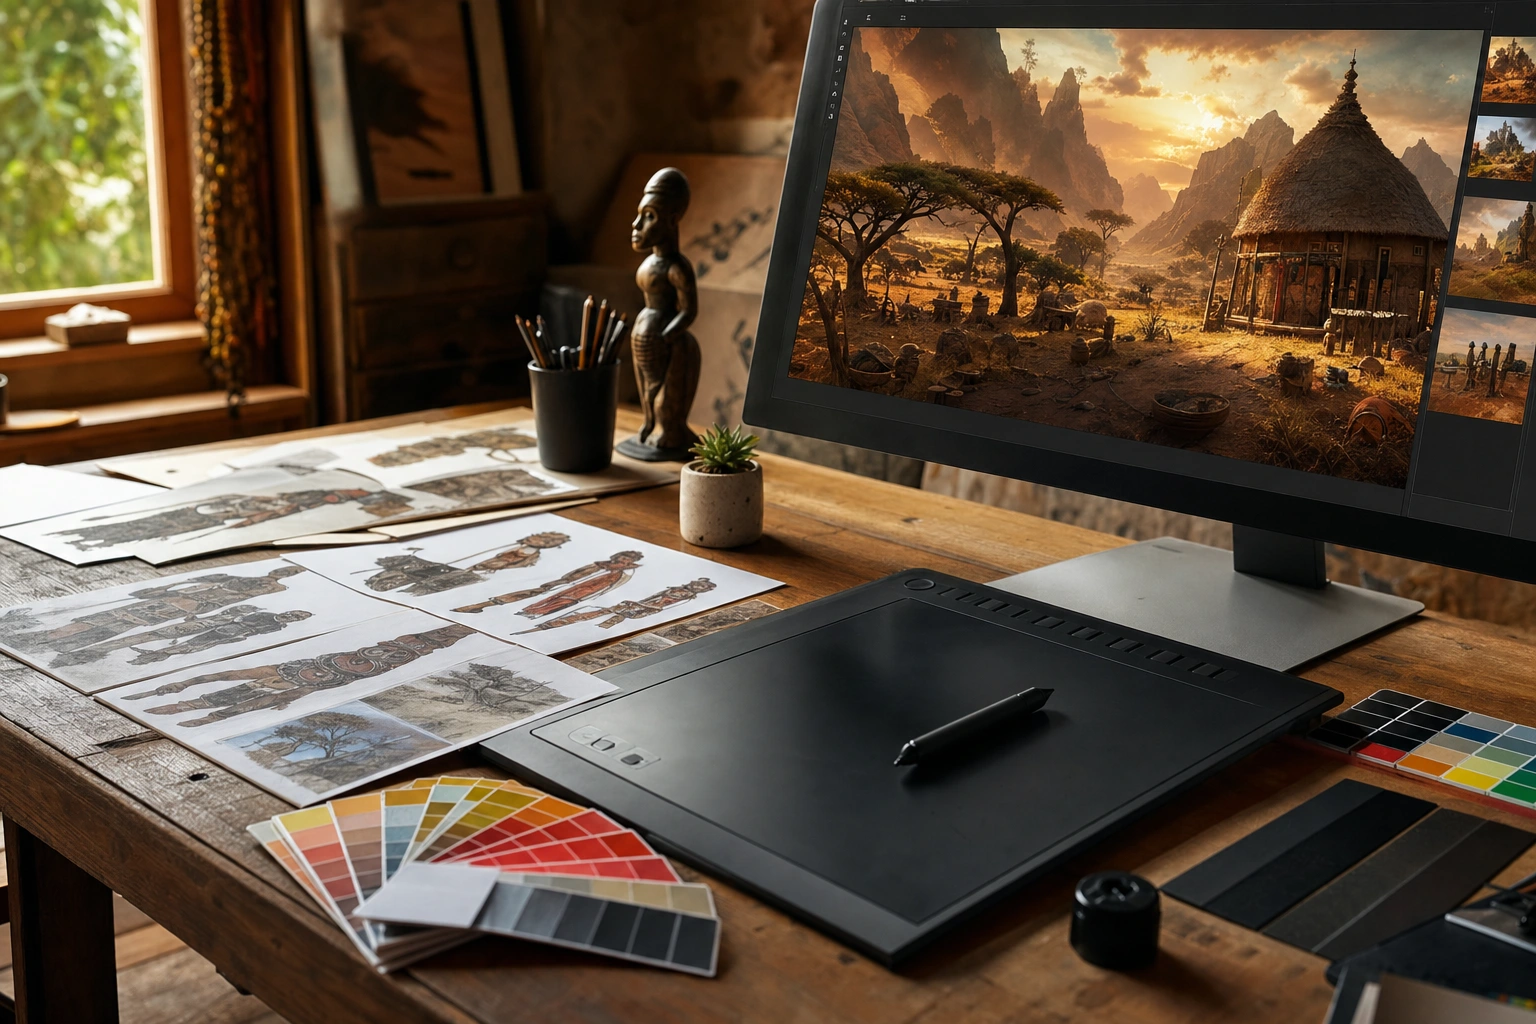
Layers are one of the most important ideas in digital art. They allow an artist to separate a composition into manageable parts instead of treating the whole image as a single, fixed surface. A background can remain untouched while a character is redrawn, colours can be adjusted without repainting, and effects can be tested without permanently changing the artwork.
Whether you use Photoshop, Krita, Procreate, Affinity, Clip Studio Paint, Illustrator or another creative application, understanding layers will improve both your technical control and your creative decision-making. Layers are not merely a software feature; they are a way of thinking about how an image is constructed, edited and communicated.
What Is a Layer?
A layer is a separate level of visual information within a digital document. It may contain pixels, vector shapes, text, colour adjustments, masks or special effects. In the final image, these levels appear together, but the artist can usually select and edit them independently.
Think of a traditional illustration made from transparent sheets. One sheet might contain the sky, another the buildings, another the people and another the shadows. When the sheets are placed on top of one another, they form a complete scene. Digital layers work in a similar way, although they offer far more flexibility: they can be hidden, rearranged, duplicated, blended, resized and modified without necessarily affecting the other parts of the artwork.
The order of layers matters. A layer near the top of the layer panel generally appears in front of layers below it. For example, a line-art layer placed above a colour layer will keep the outlines visible, while a background layer placed at the bottom will provide the foundation of the composition.
Why Layers Matter in Digital Art
They make editing safer
Digital art often develops through revision. An artist may decide that a character should be taller, a product should be a different colour or the background should be less prominent. If every part of the artwork has been painted on one layer, such changes can be difficult and time-consuming. Separate layers allow targeted edits.
This is known as non-destructive working. It means preserving the original information wherever possible so that changes can be adjusted, removed or revisited later. A non-destructive workflow is especially valuable for client work, illustrations with several rounds of feedback and designs that may need different versions.
They support experimentation
Layers make it easier to try ideas without committing to them permanently. An artist can duplicate a group, test a new colour scheme, add a texture or alter the lighting on a separate layer. If the result is unsuccessful, the layer can be hidden or deleted while the original remains intact.
This freedom encourages exploration. Instead of asking whether an experiment might damage the artwork, the artist can ask whether it helps the composition. That change in attitude can lead to more confident creative decisions.
They improve organisation
A layered document is easier to understand than a collection of unexplained marks. Clear names such as Background, Character Line Art, Skin Colour, Hair Shadows and Colour Adjustments help the artist navigate the file quickly. Groups and folders can organise related layers, particularly in complex illustrations or design projects.
Organisation also matters when a file is handed to another person. A designer, art director, animator or client may need to locate specific elements. A well-structured file communicates how the artwork has been built.
Common Types of Layers
Raster or pixel layers
Raster layers store images as pixels. Painting, airbrushing, erasing and photo editing usually take place on this type of layer. They are suitable for textured brushwork, shading, scanned artwork and detailed digital painting.
The main limitation of raster artwork is resolution. If a small raster image is enlarged significantly, its pixels may become visible and the image may look soft or jagged. This does not make raster layers inferior; it simply means that the artist should choose an appropriate document size and work carefully when scaling.
Vector layers
Vector layers store shapes, paths and mathematical descriptions rather than individual pixels. They are useful for logos, icons, diagrams, typography and clean illustrations. Vector objects can often be resized without losing sharpness.
Vector and raster methods can work together. For example, a designer might create a crisp vector logo, place it over a raster photograph and add painted shadows on a separate pixel layer. Choosing the right layer type for each task produces a more adaptable file.
Text layers
Text layers preserve editable words and characters. Keeping type as text rather than converting it immediately into pixels allows changes to wording, font, size, spacing and alignment. This is important in posters, social media graphics, book covers and marketing materials.
Text may eventually need to be converted or packaged appropriately for production, but it is usually wise to keep an editable version during the design stage.
Adjustment layers
Adjustment layers alter properties such as brightness, contrast, colour balance, saturation or tone without permanently changing the original image. They are useful when an artist wants to control the overall mood or correct a colour problem.
For example, rather than permanently making a photograph darker, an artist can use an adjustment layer. The strength of the effect can then be reduced, changed or removed. Adjustment layers can also be limited to selected areas through masks.
Fill and effect layers
Some applications provide layers for solid colours, gradients, patterns or special effects. These are useful for backgrounds, colour overlays, atmospheric lighting and stylised treatments. A gradient layer set to an appropriate blending mode might create a warm sunset effect without requiring the sky to be repainted.
Group or folder layers
Groups contain several related layers. In a digital painting, a group might hold all the layers belonging to a character. In a poster, another group might contain the photograph, colour treatment and supporting effects.
Groups reduce visual clutter and allow several elements to be moved, hidden or transformed together. They are particularly useful when a project contains many components.
Layer Order, Opacity and Blending
Three controls are central to working with layers: order, opacity and blending mode.
Layer order determines what appears in front of what. If a shadow layer is below the object it should shade, the shadow may not be visible. If highlights are placed above the object, they can sit convincingly on its surface.
Opacity controls transparency. Reducing opacity can soften a sketch, make a texture less noticeable or create a subtle shadow. Opacity is helpful for building effects gradually rather than applying them at full strength.
Blending modes determine how the colours on one layer interact with the colours below it. Modes such as Multiply are often useful for shadows, while Screen or Additive modes may be used for light effects. The exact names and behaviour vary between applications, so artists should test them on their own artwork rather than relying on a fixed formula.
Blending modes can produce striking results, but they should support the image rather than replace judgement. An effect that looks impressive at first may become distracting if it reduces clarity or creates inconsistent lighting.
Masks and Clipping: Precise Control Without Erasing
Masks are among the most useful tools in a layer-based workflow. A mask controls which parts of a layer are visible. Painting on a mask with white can reveal an area, while painting with black can hide it; grey values create partial transparency in many applications.
The advantage is that hiding is reversible. If an artist erases part of a layer and later changes their mind, the missing information may be difficult to recover. A mask preserves the underlying content while controlling its visibility.
Clipping allows one layer to affect only the visible shape of another layer or a designated base. For example, an artist can place a shadow layer above a character's skin-colour layer and clip it to the character. The shadow will stay within the character's boundaries instead of spilling into the background.
These techniques are valuable for painting cleanly, adding textures to shapes and making selective corrections. They also reduce the need for repeated erasing, which can make a workflow slower and less flexible.
A Practical Layered Illustration Workflow
There is no single correct layer structure, but the following process works well for many digital illustrations.
- Plan the document. Choose the canvas size, colour mode and intended output before beginning. A web graphic, printed poster and digital painting may require different settings.
- Create a rough sketch. Use a separate sketch layer so that the planning marks can be reduced in opacity or hidden later. Avoid building final details too early.
- Establish the background. Put the sky, wall, landscape or other environmental foundation on one or more lower layers. Keeping the background separate makes later changes easier.
- Build major forms. Place the main subjects on separate layers or groups. At this stage, focus on shape, proportion and composition rather than tiny details.
- Add line art or structure. If the style uses outlines, keep them separate from the colour. This allows the artist to adjust line colour, thickness or visibility.
- Apply base colours. Use clean colour layers beneath the line art, or use clipping and selections to keep colour within the intended forms.
- Add shadows and highlights. Separate layers make it possible to change the lighting without repainting the base colours. Check that the light direction remains consistent across the scene.
- Refine textures and details. Add materials such as wood grain, fabric, metal reflections or foliage on suitable layers. Keep highly experimental effects separate until they are approved.
- Make global corrections. Use adjustment layers or a controlled finishing group to unify colour, contrast and atmosphere.
- Review and prepare the file. Rename important layers, remove unnecessary duplicates, check visibility and save an editable version before exporting a flattened copy.
Layers in Different Digital Art Practices
In character illustration, layers may separate the sketch, line art, skin, clothing, hair, accessories, shadows and background. This structure makes it possible to change a shirt colour or move an accessory without rebuilding the entire character.
In photo manipulation, layers may contain the original photograph, cut-out subjects, retouching, colour grading, atmosphere and typography. Masks are particularly important because they help combine images with believable edges and transitions.
In graphic design, layers can represent photographs, logos, shapes, text and effects. Keeping these elements separate is essential when a client requests a different headline, image or brand colour.
In digital painting, the artist may use fewer layers to preserve a traditional, painterly feel. Some painters work on one main layer after an initial sketch, while others separate major forms and lighting. The best approach depends on the desired style, the project requirements and the artist's ability to manage the file.
For animation, layers may represent characters, props, backgrounds and individual moving parts. Separating these elements can make later movement and timing adjustments possible. In educational media or mobile content, a layered design may also allow the same artwork to be adapted for different screen sizes.
Common Mistakes and How to Avoid Them
Using too many unnamed layers
More layers do not automatically mean better organisation. Hundreds of unnamed layers can make a file confusing and slow to edit. Name layers when they are created or at natural stages of the process. Use groups for related material and merge only when you are confident that separate editing is no longer necessary.
Painting everything on one layer
A single layer can be efficient for a quick sketch or a deliberately traditional workflow, but it becomes risky when the project requires frequent changes. Separate at least the major elements that are likely to be revised.
Relying on effects without understanding them
Blending modes, filters and automatic corrections can be useful, but they may create unexpected colour shifts or weak visual hierarchy. Check the artwork at normal viewing size and compare the effect with the original. If an effect is doing too much, reduce its opacity or mask part of it.
Ignoring file management
Large layered files can use significant storage and may become difficult to share. Save versions with clear filenames, keep a working file separate from exported images and consider grouping or archiving older versions. If collaboration is involved, agree on file formats and naming conventions early.
Applying This in Practice
To practise layer management, create a simple digital poster for a local event such as a community art workshop, small-business open day or professional training session. Use separate layers for the background, main image, decorative shapes, headline, supporting text and colour adjustments.
Then test three revisions: change the background colour, replace the main image and adjust the headline size. Notice which changes are easy because the elements are separated and which become difficult if layers are poorly organised. Finally, duplicate the file, hide selected layers and export a clean version. This exercise teaches the practical value of editability more effectively than memorising software commands.
Before finishing any layered artwork, ask yourself: Can I find the main elements quickly? Can I revise the most likely client request without repainting? Are my masks and adjustments still editable? Does the layer order reflect the visual structure of the image? These questions help turn layers from a collection of software controls into a reliable production system.
Key Takeaways
- Layers separate visual elements so that artwork can be edited, tested and revised with greater control.
- Raster layers suit pixel-based painting and photo editing, while vector layers are useful for scalable shapes, logos and clean graphics.
- Layer order, opacity and blending modes control how elements appear and interact within a composition.
- Masks and clipping provide precise, reversible control without permanently erasing important artwork.
- Clear names, groups and sensible file versions make layered documents easier to manage and share.
- Use separate layers for elements that are likely to change, but avoid creating unnecessary complexity.
No comments yet.