
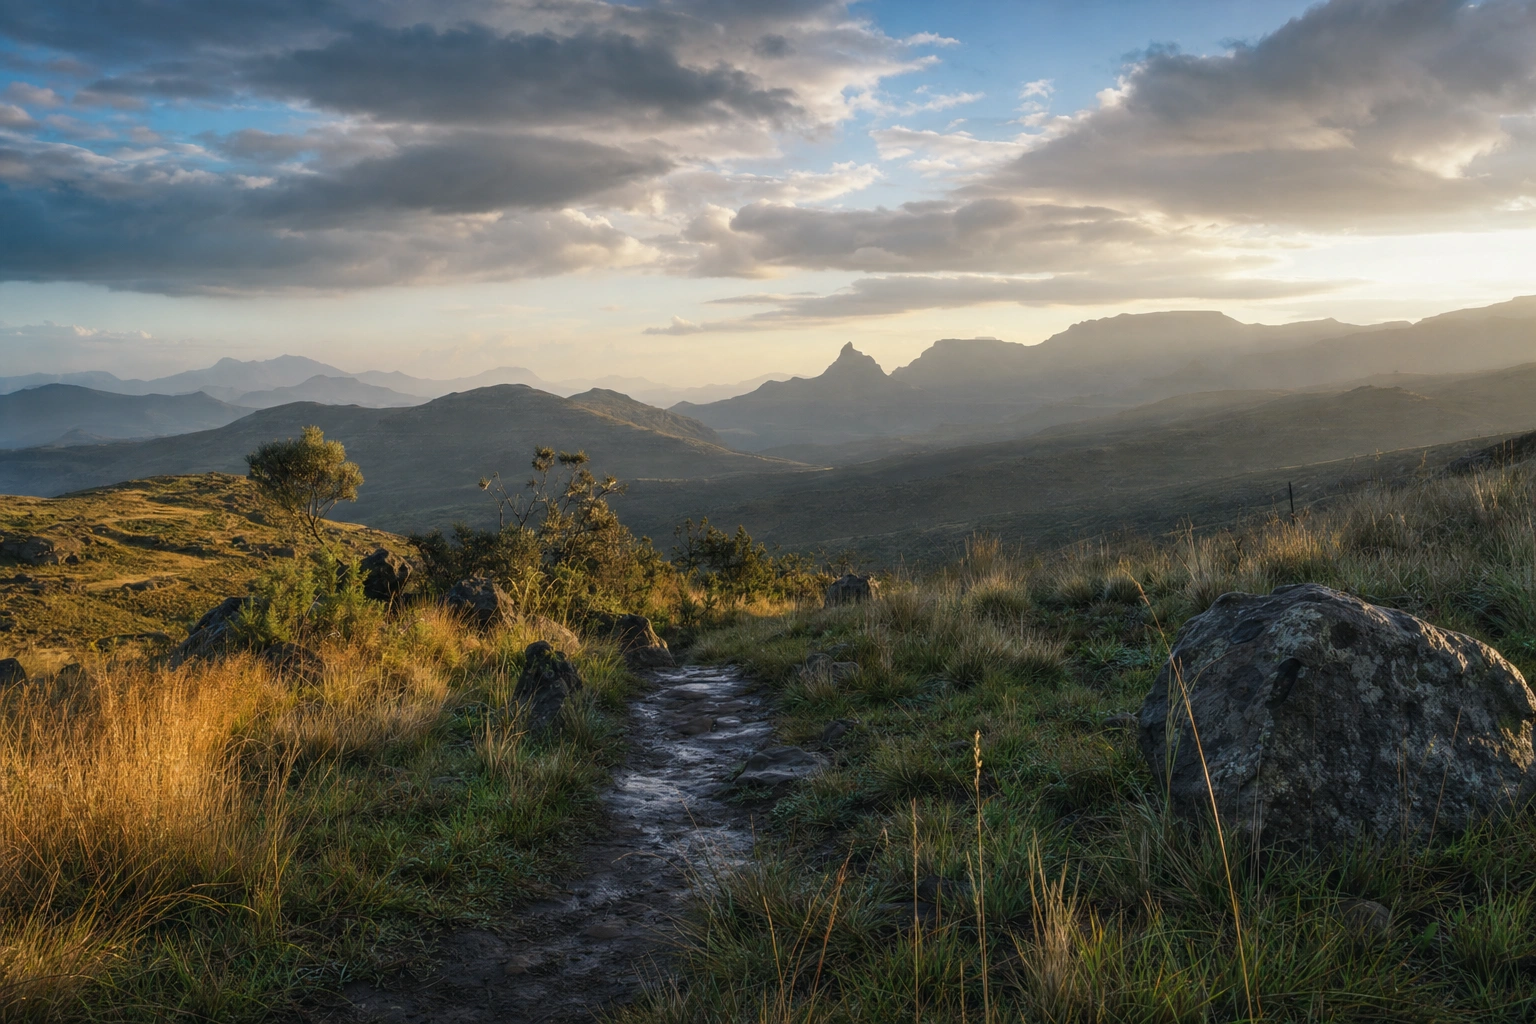
Landscape photography is the practice of photographing outdoor spaces in a way that communicates more than their appearance. A successful image can suggest scale, atmosphere, tranquillity, movement, isolation or human influence. It may show a dramatic mountain range, a quiet beach, a city edge, a cultivated field or an ordinary local scene transformed by light.
Good landscape photographs rarely depend on scenery alone. They result from a series of decisions: where to stand, what to include, when to press the shutter, how to manage exposure and how to refine the image afterwards. Understanding these principles helps photographers work confidently with both spectacular locations and familiar surroundings.
Start with Intent: What Should the Image Communicate?
Before adjusting settings, decide what you want the viewer to notice or feel. This is the photograph's visual purpose. A wide view may communicate the scale of a valley, while a closer composition of grasses moving in the wind may express texture and weather. If every visible feature receives equal attention, the image can become busy and unclear.
Ask yourself three questions:
- What is the main subject or visual idea?
- What mood or sense of place should the image convey?
- Which elements support that idea, and which distract from it?
This process is useful even when photographing a familiar setting such as Nairobi National Park, the shores of Lake Victoria, the slopes of Mount Kenya or a local farming landscape. Instead of recording everything in front of you, look for a particular relationship: sunlight on a ridgeline, a winding footpath leading through a field, or buildings appearing small beneath a stormy sky.
Composition: Organising the Frame
Composition is the arrangement of shapes, lines, colours, textures and spaces within the frame. It guides the viewer's eye and gives the photograph structure. There is no single correct formula, but several compositional principles are especially useful in landscape work.
Use foreground, middle ground and background
A landscape can appear flat when it contains only a distant subject. Including a meaningful foreground element creates layers and helps communicate depth. Rocks, leaves, ripples, a fence, a footpath or cultivated rows can provide a visual entry point. The middle ground may contain the main landscape feature, while the background establishes distance and context.
Each layer should contribute to the image. A foreground object should not be included merely because it is nearby. Check that it has an interesting shape, texture or relationship with the rest of the scene. A low viewpoint can make a foreground feature prominent; a higher viewpoint may reveal patterns and connections across the landscape.
Look for leading lines
Lines naturally direct attention. Roads, rivers, shorelines, walls, trails, rows of crops and ridges can lead the eye towards a subject or into the distance. Curved lines often create a slower, more exploratory visual journey, while strong diagonals can add energy.
When using a leading line, examine where it begins and ends. A path that enters from a corner and points towards a mountain can strengthen the composition. A line that leads the eye out of the frame may weaken it unless that sense of departure is intentional.
Balance visual weight
Large objects, bright highlights, saturated colours and strong patterns attract attention. A small bright building may balance a large dark hillside, while an empty area of sky may give a heavier foreground room to breathe. Balance does not always mean symmetry. Unequal elements can create tension and interest when they are carefully positioned.
The rule of thirds can help beginners avoid placing every subject in the centre. However, it is a guide rather than a law. Central placement may work for a symmetrical reflection, a solitary tree or a strongly structured scene. The important question is whether the placement supports the intended message.
Light: The Main Shaping Tool
Light determines form, colour, contrast and mood. The same location can look completely different under soft overcast conditions, low-angle sunlight or dramatic storm light. Learning to observe light is more valuable than relying on a particular time of day.
Direction and quality
Front light illuminates the scene clearly and can reveal colour, but it may produce a flatter appearance. Side light creates shadows and emphasises texture, especially on rock, sand, tree bark and architectural surfaces. Backlighting can produce silhouettes, glowing foliage or a luminous atmosphere, although it requires careful exposure.
Hard light creates distinct shadows and strong contrast. It can work well for graphic landscapes, patterns and rugged textures. Soft light, often found under cloud or near sunrise and sunset, produces gentler transitions and can be effective for subtle colour and intimate scenes. Neither type is automatically better; the choice depends on the subject and the story.
Work with changing conditions
Landscape photographers often wait because light changes quickly. A break in cloud can illuminate one part of a valley while leaving the rest in shadow. After rain, surfaces may become more reflective and the air may appear clearer. Mist can simplify a scene by hiding distracting details and separating layers.
Do not treat cloudy weather as a failure. Even illumination can reveal delicate colour and texture without harsh highlights. Wind, rain and fog may also communicate the character of a place more honestly than a clear, calm day. Protect your equipment, but remain open to conditions that create a distinctive image.
Exposure: Controlling Brightness and Detail
Exposure is the amount of light recorded by the camera. Landscape scenes often contain a wide range of tones, from bright sky to dark foreground. The aim is not always to make every area equally bright. Instead, choose an exposure that preserves important detail and supports the mood.
Understand the exposure controls
Aperture controls the size of the lens opening and affects depth of field. A smaller aperture, represented by a higher f-number such as f/8 or f/11, generally helps keep more of the scene sharp. A larger aperture can be useful when isolating a foreground detail or creating a softer background.
Shutter speed controls how long the sensor receives light and affects motion. A fast shutter speed can freeze moving grasses or waves, while a slower speed can blur water and clouds. Slow exposures require a stable camera, usually supported by a tripod, and careful attention to moving elements.
ISO controls the sensor's sensitivity setting. Lower ISO settings usually help produce clean, detailed files, while higher settings allow the use of faster shutter speeds or smaller apertures in low light but may introduce more visible noise. Modern cameras can perform well at higher ISO settings, but it remains useful to choose the lowest practical setting for the required result.
Use the histogram and highlights warning
The camera's preview screen can be misleading in bright outdoor conditions. The histogram provides a more dependable indication of tonal distribution. If important highlights are pushed against the far right edge, they may be clipped and lose detail. If shadows are compressed against the far left edge, dark areas may lack recoverable information.
Many scenes require a compromise. You may choose to protect a bright sky even if the foreground becomes dark, or deliberately allow a bright sun to appear as a small feature. Exposure bracketing, in which several images are captured at different exposures, can be useful for scenes with extreme contrast. Any blending should remain natural and reflect the conditions rather than creating an artificial appearance.
Focus and Depth of Field
Sharpness should support the structure of the photograph. In a scene with a clear foreground, middle ground and background, focusing on the nearest object is not always the best choice. The point of focus depends on the lens, aperture and distance between the layers.
For a static landscape, autofocus can work well in good light, but manual focus may provide greater consistency in difficult conditions. Magnify the live view or electronic viewfinder to check a significant detail. If the scene is dark or low in contrast, focus on a distinct edge at an appropriate distance, then check the result carefully.
A tripod makes it easier to use a smaller aperture and a slower shutter speed without camera shake. It also helps maintain framing when making small adjustments. However, avoid assuming that every landscape requires maximum depth of field. A close-up of a flower, tree trunk or weathered wall may be more effective with selective focus.
Choosing Equipment Thoughtfully
Wide-angle lenses are popular because they include extensive views and exaggerate the relationship between a close foreground and distant background. They can also make distant features appear smaller, so they are not always suitable when the main subject is far away.
Standard and telephoto lenses help isolate distant details, compress visual layers and create more selective compositions. A telephoto view of overlapping hills, for example, may communicate atmospheric depth more clearly than a very wide frame. A versatile zoom can be practical for walking and travel, while a prime lens may encourage more deliberate positioning.
A sturdy tripod is valuable for long exposures, bracketing and careful composition. A cable release or self-timer can reduce movement when the shutter is pressed. Useful protective equipment includes a rain cover, lens cloth, spare batteries and suitable storage. In remote or changing environments, clothing, water, navigation tools and personal safety are as important as photographic equipment.
Filters can be helpful but are not essential. A polarising filter may reduce reflections and deepen certain skies when used at an appropriate angle to the sun. Neutral density filters reduce the amount of light entering the lens, allowing longer exposures in bright conditions. Graduated filters can balance a bright sky and darker land, although similar adjustments may sometimes be made during editing.
Colour, Texture and Atmosphere
Colour can organise a composition and reinforce mood. Warm light may suggest energy or comfort, while cool tones can feel calm or distant. Complementary colours, such as blue and orange, can create contrast; related colours can produce a quieter and more unified image.
Do not rely on colour alone. Black-and-white processing can reveal shape, tone, texture and pattern in a scene where colour is distracting or weak. Rough rock, smooth water, tangled branches and geometric buildings all provide tactile information. Side light is particularly useful for making texture visible.
Atmospheric perspective also contributes to depth. Distant objects often appear lighter, less contrasty or cooler because of moisture and particles in the air. Rather than removing all atmospheric softness during editing, consider whether it helps communicate distance and scale.
Planning and Responding in the Field
Planning improves both results and safety. Research the location, access conditions, weather forecast, sunrise or sunset direction and any restrictions that affect photography. Allow time to walk around before setting up. The first viewpoint you see may be convenient, but a short change in position can remove a distracting object or reveal a stronger foreground.
Use a notebook or phone to record promising viewpoints, lens choices and light conditions. If returning to a location, this information helps you make a more deliberate attempt rather than repeating the same image by accident. At the same time, avoid becoming so committed to a planned shot that you miss an unexpected opportunity.
Respect the landscape. Stay on established paths where possible, avoid damaging vegetation, keep a safe distance from wildlife and do not move natural features simply to improve a composition. In community, cultural or privately managed locations, follow local guidance and ask permission when appropriate. Ethical practice protects places and maintains trust with the people who care for them.
Editing Without Losing Reality
Editing should clarify the photograph's visual idea, not conceal weak observation. Begin with basic adjustments to exposure, white balance, contrast, highlights and shadows. Correct distracting lens or horizon issues, then refine colour carefully.
Local adjustments can guide attention by brightening an important area or reducing contrast in a distraction. Cropping may improve composition, but it is better to develop stronger framing habits in the field. Excessive clarity, saturation, sharpening or sky replacement can make an image look unnatural and draw attention away from the landscape itself.
Keep the original file and work non-destructively where possible. Review the photograph at full size to check detail, then view it smaller to assess whether the main idea remains clear. A well-edited image should still feel connected to the conditions and place in which it was made.
Applying This in Practice
- Choose a simple subject. Photograph a nearby riverbank, street edge, hillside or field rather than waiting for a famous destination.
- Make three different compositions. Try a wide view with a foreground, a more balanced middle-distance view and a telephoto or cropped detail.
- Observe the light. Note where the shadows fall and how the scene changes when clouds pass or the sun lowers.
- Control one variable at a time. Capture a sequence that changes aperture, then another that changes shutter speed, while keeping the composition similar.
- Review critically. Ask whether the image has a clear subject, useful depth, distracting highlights or a horizon that needs attention.
- Edit with restraint. Make adjustments that strengthen the original visual intention without making the scene unrecognisable.
Key Takeaways
- Decide what the landscape should communicate before choosing camera settings.
- Use foreground, middle ground and background to create depth and guide attention.
- Study the direction and quality of light instead of assuming that one time of day is always best.
- Balance aperture, shutter speed and ISO according to the required sharpness, motion and brightness.
- Choose lenses and accessories for the subject and conditions, not simply because they are popular.
- Plan responsibly, protect the environment and edit in a way that preserves the character of the place.
No comments yet.